Gardening Tips, Wood Chipping & Garden Shredding
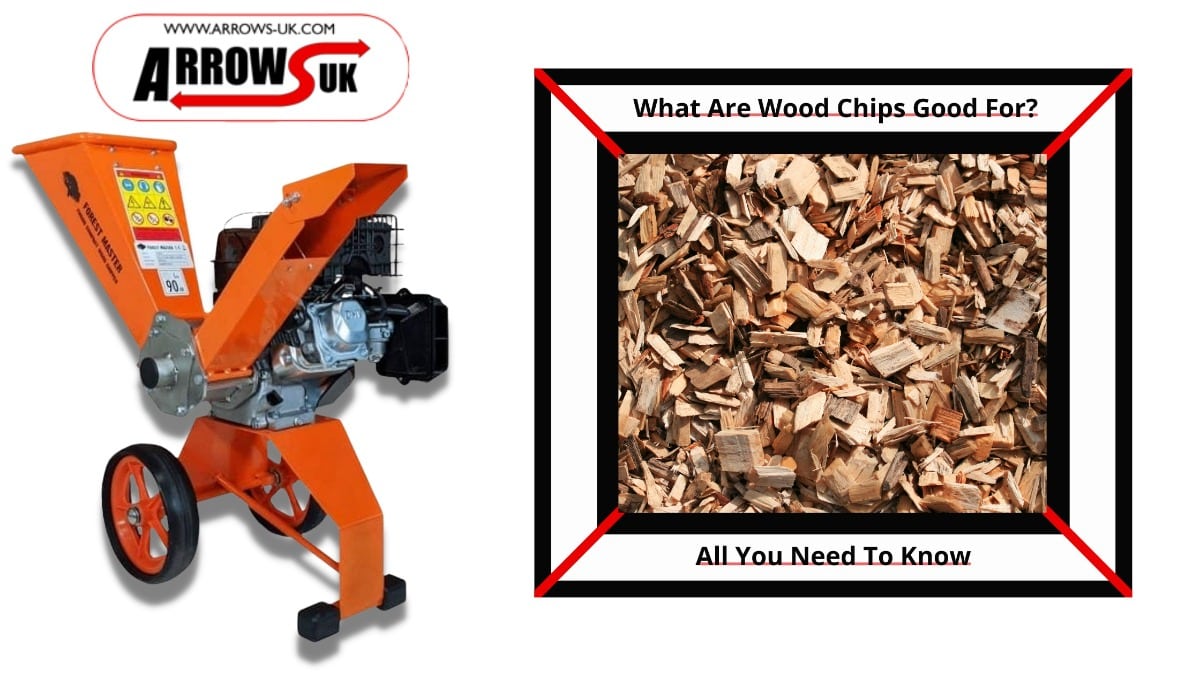
What are wood chips good for? All you need to know
So, you’ve finally gotten your wood chipper (and if you haven’t – check out our collection here). The satisfaction you got from watching that massive pile of wood melt away into tiny chips was second to none. But now, what do you do with all those chips? Well, I prefer mine with salt and vinegar. But as for the question “what are wood chips good for?” – read on to find out!
Table of Contents:
| Use Your Wood Chips as Mulch |
| Use Them To Build Up Your Flowerbed |
| Add Them To Your Compost Heap |
| Use Wood Chips to Create Pathways |
| Scatter Around Kid’s Play Area |
| Create A Designated Seating Area |
| Put Your Wood Chips Into A Stove As Fuel |
| Prevents Weeds & Pests |
| Cover Over Any Unused Areas |
| Generously Spread Them |
There are definitely worse problems to have other than an abundance of wood chips. A 1990 study that rated organic mulches found that their use as mulch is unrivalled in the following areas:
- Moisture retention – a good layer prevents moisture from evaporating quickly
- Temperature moderation – they’ll keep your plants cool in the summer and warm in the winter
- Weed Control – they prevent weeds from sneaking through and stealing nutrients
Here are our suggestions for uses for your chippy chums:

1) Use your Wood Chips as mulch
Return to Content Table
As we touched upon previously, wood chips make great mulch. However, it’s not as easy as it appears at first. If you’re using them around a bed that annual crops – don’t. Moreover, the same applies when using them around your vegetable gardens.
Using them as mulch can sometimes be a tricky topic, why? Well, nitrogen is needed for the decomposition process, and where would they get it? You guessed it – the surrounding soil. This means that the plants would be starved of vital nitrogen and affect their growth & colour.
So in short, don’t place them around your much-loved plant pals.
Here are three places you can use them with no worries
- Around fruit trees and mature shrubs
- Around mature wood perennials (ideally in ornamental beds or borders)
- In wild woodland areas
Top Tip – need to get around the nitrogen issue? Well, if you chip green-wood with some leafy materials it will lock in nitrogen.
Moreover, what you place through your chipper matters. Why? Well, hardwood chips have different properties than softwood like pine. One golden rule, don’t chip walnut trees. Deciding whether to buy your own chipper or hire one – check out our blog here
2) Use them to build up your flower beds
Return To Content Table
While you want to keep wood chips away from beds that contain annual growing plants. They can be used to create new growing areas using the lasagna method. No, you’re not creating a delicious pasta dish, but it’ll help you grow the tomatoes to create one!
In short, lasagne gardening is a no-dig garden method that helps produce rich, fluffy soil – perfect for any plants!
How do you create one? Well, you compost in place. This means that you layer up thin layers of brown (carbon-rich) and green (nitrogen-rich) materials much in the same way you would a lasagne (anyone else really hungry?). Wood chips fit into the brown category, so layer them up to create a lasagne that Dolmio would be proud of!
3) Add them to your compost heap!
Return To Content Table
Say you don’t need new growing areas and space is tight – throw the wood chips on the compost heap.
One thing to note, be aware of the size of the chips, the bigger they are the longer decomposition will take. Moreover, as they say, slow and steady wins the race so only add a little at a time!
If you’re following the lasagne method, don’t overdo the brown or green elements – get a balance of both!

4) Use wood chips to create pathways!
Return to Content Table
Do you find yourself strolling off the beaten track? Literally. Well, why not create a makeshift informal path? Don’t want it to be a permanent feature – use finer shredded wood chips. These will breakdown quicker. Want something more long-term? Use chunkier chips (who doesn’t love chunky chips) that’ll withstand the test of time.
Once they’ve broken down you can then scatter them around nearby plants. Because they’ve already broken down, you don’t need to worry about the decomposition process.
Better yet, by breaking them down in this manner they’re exactly where you need them to be and don’t require a separate space.
5) Scatter around kids play area:
Return to Content Table
Let your little chips keep your little ones safe and place them around a kids’ play area.
Why? Well, they offer a cushioned landing in case of any accidents around swing sets or climbing frames. Moreover, they prevent tiny feet from creating a big mess of the ground below.
6) Create a designated seating area
Return to Content Table
If you’re anything like me, over the summer months you live outside. If that’s the case you’ll want as much outdoor seating as possible.
Now, while you don’t want seating areas dotted all over the garden – think of the space it’d take! Using wood chip piles in designated areas can create less formal (and bulky) alternatives.
The benefit of using wood chips is that you don’t need to invest in slabbing or paving an area permanently. Moreover, it eliminates the possibility of chair legs destroying the ground below.

7) Put your wood chips into a small stove as fuel
Return To Content Table
Is your BBQ running low on fuel or maybe you have a small camping stove? Wood chips make great fuel in these instances.
Whether you’re camping in your back garden, or away for a weekend with the kids – they’re a perfect fuel for outdoor cooking
8) Use them to prevent weeds and pests from growing!
Return To Content Table
Does your garden border any forestry, wild or natural growing areas? There’s nothing worse than unkept weeds infiltrating from your garden.
Wood chips enable you to not only form aesthetically pleasing borders for your plants and property areas. But, they also prevent wild plants from invading your green paradise.
If you’re wanting to get rid of weeds, put a deep layer (4-6 inches) in to kill any unwanted roots & plant growth.
Ensure that all borders are three to four feet wide by two foot deep and replace them annually.
9) Cover over any unused areas with wood-chips in the interim
Return To Content Table
Everyone’s got a no man’s land, an area of your garden that you’re not entirely sure what you’re going to with. Unfortunately, they can sometimes become unkempt and bring down the overall calibre of the garden.
In the interim period, while you’re planning your next steps, wood chips could help! How? Well, a thick layer of chips would keep weeds at bay while also keep the soil moist and fluffy.
10) Spread the love (and the chips)
Return To Content Table
If you’ve gone a bit wild with your wood chippers (don’t worry we’ve all been there) and you’ve got an abundance of chips. Why not spread the love? See if your friends, family or neighbors need or want any.
That way you get to spend many an hour blissfully chipping, not worry about an unsightly pile of wood nor a massive pile of unused wood chips.
We hoped that this blog has got your gear turning (or your wood chipping). Have you figured out what you’re going to do with your chips? Let us know below! Moreover, if you’ve decided to buy a chipper but can’t decide which one – check out our blog

